TABLE SETTINGS
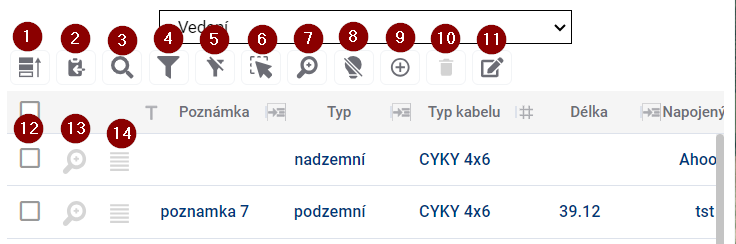
To control the table there is a group of tools above the table and another one directly in the table.
- Prioritize Selected - moves selected elements in the table before others
- Save selected to clipboard - and then you can paste the records into a text editor
- Search in data - a quick way to filter records using the text you enter
- Show/hide filter - show/hide text boxes to filter results for all columns
- Show only filtered in map - limits the visibility of features in the map to only those that are filtered
- Select map elements - allows you to select and highlight artwork by interacting with the map
- Browse to selected features - zooms to the selected features in the map window
- Disable highlighting of selected items
- Add new item - opens the form ready to add a new item
- Delete item - removes selected records from the results table
- Bulk data editing - allows to edit the column value for multiple items at the same time
- Select item in table - click in the check box to select and highlight the record
- Browse to feature - zooms to the selected feature drawing in the map window
- Open item form - opens the form for easier data editing
Select and highlight elements
When you hover over a row in the table, the row is highlighted and the drawing is highlighted in orange in the map window.
Selected features are also highlighted in the table and are yellow in the map and can be selected either by checking the checkbox on the left side of the table or by clicking on the shape in the map window, but only with the Select features in map function enabled (Button 6). You can use the polygon drawing to select multiple features. Clicking and dragging draws a rectangle, single clicks allow you to create a polygon of any shape. If the entire area of the map window is filled with the polygons in question, it is necessary to double click to start drawing the selection polygon. The drawing is terminated by double-clicking or right-clicking. Prioritize Selected (Button 1) places the selected elements at the top of the table.
Approaching the elements
Zooming the map to the elements can be achieved in two ways. Browse to selected elements (Button 7) zooms the map to the elements that are selected and therefore highlighted in the table, Browse to element (Button 12), located next to each record, zooms the map to that particular element. The same button is also available in the element form.
Filtering elements
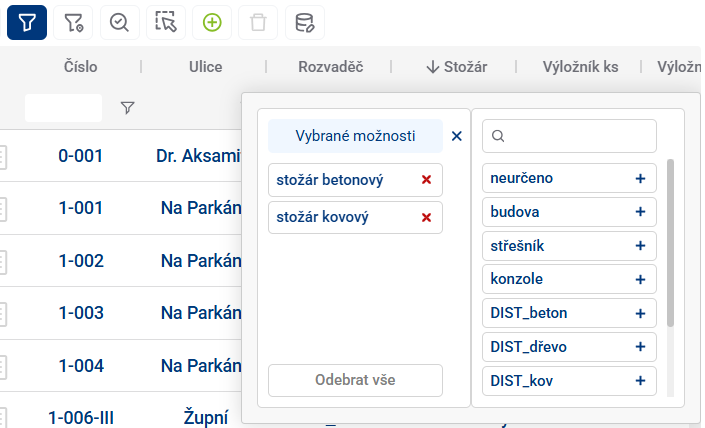
Element filtering allows you to display only those records in the results table whose attribute meets a certain condition. The easiest and fastest way to do this is to use the Search in Data tool (Button 3), which displays a text box to enter the desired constraint. Filters for all columns separately can be accessed using Show/Hide Filter (Button 4), and for each column you can still open a popup with a more detailed filter specification and change the operator from “equals” to “is greater than”, for example. In the case of filtering in a dial column, it is possible to select directly from existing values.
Data storage
Selected rows from the table can be saved to a file outside the geoportal using Save selected to clipboard (Button 2) and then pasted into, for example, an .xlsx file.
Adding a new item
The add new item button (Button 9) redirects to the empty new item form and starts drawing in the map.
- To add a point to the map, simply click anywhere in the map window
- The line drawing is done in such a way that each click adds a new breakpoint to the element, then double-clicking ends the drawing of the element together with the creation of the point. A right click will also end the drawing, but at the previous point.
- polygon drawing, you can add closed broken lines to the map. Drawing is done by each click adding a new refraction point to the element, then double-clicking to close the polygon by connecting the click point to the origin and ending the drawing of the element. A right click also ends the drawing, but without creating a new point at the click point.
After drawing the item it is possible to fill in attributes and with the corresponding buttons to confirm or discard the currently created item and return to the table view
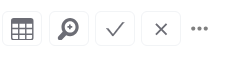
In the drop-down menu in the form it is also possible to turn on/off the snapping to existing map features when drawing